Have you ever wondered what exactly goes into making a hand applique? Leslie from My*Sweet*Sunshine gives a quick tutorial on how she makes hers.
I've always have questions on how I applique. I don't have an embroidery machine, I use my trusty Kenmore sewing machine when I applique. Back when I was just starting out, I had a few designer friends that took the time to explain the process. There are different ways to do it, varying stitch lengths, different supplies, etc. but the basic process is still the same. Here's how I was taught, and even though this tutorial is a few years old, I still applique the same way.
Choose your picture/design. Print it out or trace it.

Trace each piece of the picture onto a fusible web (I use HeatnBond Lite) Pay attention to how you want to layer your pieces. Trace pieces that will be the base pieces a little bigger so the layers overlap.

Choose your fabrics for your applique, roughly cut out each piece and iron it onto the wrong side of your fabric.

Cut out your applique pieces. Use a washable pen or pencil and trace the face, or any detail work you'll need markings for. You can either use a light box or a window to do this. Start layering your pieces, like a puzzle.


Don't forget to put a stabilizer onto the back of your fabric. I backed almost the entire piece of background fabric for this applique. It makes it easier to maneuver in the machine, and it will keep the fabric from puckering. If the stabilizer starts to come off while you are stitching (it will) just iron it on again.
Start appliqueing!! I use a zig zag stitch. For the outside lines, I usually have my machine width set at 3.3 and it's Length set at .4. For inside detail lines and Facial features stitch length and width will vary - Her mouth I had my Width at 2.5 and Length at .4

For straight lines, you can let the machine feed the fabric through, but for curves, gently guide your fabric. If you have to stop and make a tight turn, put your needle down and pivot the fabric a little at a time. I try to get the outside edge of my stitching as close to the edge of the applique fabric as possible. (I took the foot off for the picture)

Almost Done! Back - you can see the stabilizer, I already tore off the excess that was outside the applique.

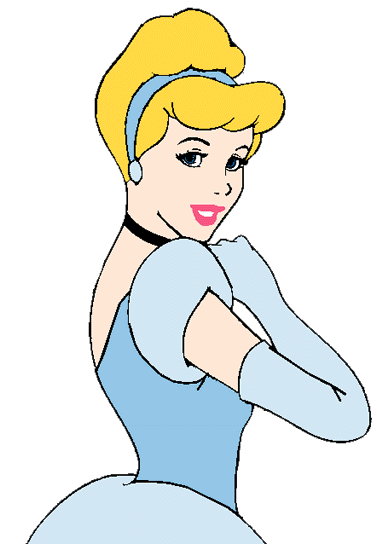
I finished Cindy by stitching her eyelashess by hand (literally ;) )

Most designers that hand applique will tell you the face characters are the hardest to applique. Their facial features are hard to get just right. I think Cinderella is one of the harder Princess to applique!! I can never get her eyes just right!!


0 comments:
Post a Comment